Introduction to APIs
JavaScript Basics III

I’m a developer from Nigeria
Introduction
Have you ever wondered how companies are able to obtain their weather data? Do all of them have their own satellites in space just to tell their users the temperature of the day? Usually these companies will subscribe to a service provider. This service provider will be the only one collecting all the information and providing it to developers through an Application Programming Interface (API).
Learning Outcomes By the end of this quest, you will be able to: Describe what an API is Use an API to get specific information based on a specified parameters Describe an endpoint and its use case
Article Walkthrough
Step 1: Introduction to API
In this quest, we will learn what an API is and its use cases. Simply put, an API allows programmers to pull information from a database or REST API server and display them for their users.
Read the article below to learn more about what an API is.
Great! Now you should have some basic understanding of an APi and how it should work. Next, let’s watch the video above to find out more about how an API works.
Step 2: Creating an Account with Open Weather Map API
Now, we will be using the Open Weather Map API to get the weather information of a place based on the location coordinates we have passed in. Navigate to Open Weather Map to create a free account.
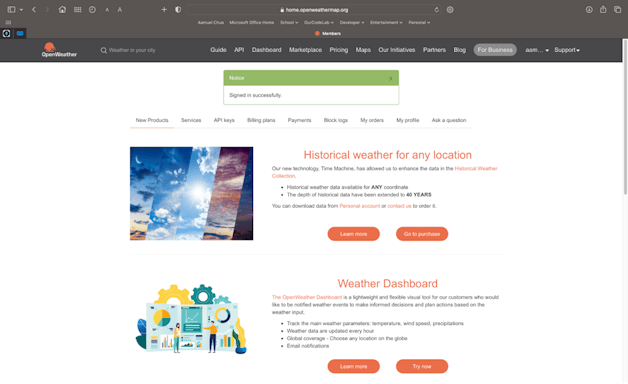
Once successful, you should see a page similar to the one in 'expected output'.

Expected output
Step 3: Obtaining API Keys
Next, click on the “Services” tab where you will be able to see a plan that has been subscribed for you. You will notice that the price plan is a free plan. This is the API service that we can use for free. Just like any other free services, there are limits to the number of API calls we can make in a minute. In our case, we can only make 60 calls per minute.
Next, if we click on API keys, this will be the page where we have access to all of our API keys from this API service provider. There should be a default key created. This key is confidential and you need to store it somewhere safe.Next, if we click on API keys, this will be the page where we have access to all of our API keys from this API service provider. There should be a default key created. This key is confidential and you need to store it somewhere safe.
Step 4: Obtaining Your Location
Once we have the API key, we are almost there to make our very first API call.
This is the endpoint of our API:
http://api.openweathermap.org/data/2.5/weather?lat=<latitude>&lon=<longitude>&appid=<YOUR API KEY>
You will soon realise that there are 3 required parameters we will need to pass in to get a successful response from the server. They are namely the latitude, longitude and API Key or the “appid” in this case.
We have our API Key from OpenWeatherMap.com. Now we will need to get the location to get the weather around us. To obtain our coordinates, you may simply go to https://mylocation.org/ to obtain your latitude and longitude.
We are now ready to make our first API call.
Step 5: API Call
In order to make the API call, replace the latitude, longitude and API Key with your data. http://api.openweathermap.org/data/2.5/weather?lat=<latitude>&lon=<longitude>&appid=<YOUR API KEY>
Then, enter the endpoint to your web browser, you should be able to see a response as shown in 'expected output'.
Congratulations, you have successfully made your first API call. The object received is a JSON object and we can use it in JavaScript to further manipulate the data. A JSON object is a Key-Pair object and it stores data by its key. You will learn more about this in the next quest.


